


It is always a good practice to start a Django project with Postgres for apparent reasons. Sometimes the default database shipped with Django may suffice for you. However, as the project grows and more likely than not if you have to collaborate on any project you are working on, it becomes challenging to be in sync when the database is only visible on your computer.

😂😂😂😂
Anyway, let's begin this process and get the ball rolling. By now we should have a db.sqlite3 file in our route directory. This was due to our migration, which created the database locally on our machine.
Create a Postgres database on Railway
We are going to make use of a free service available to us from Railway to create this database. All you need to do is create an account with them and follow the steps below
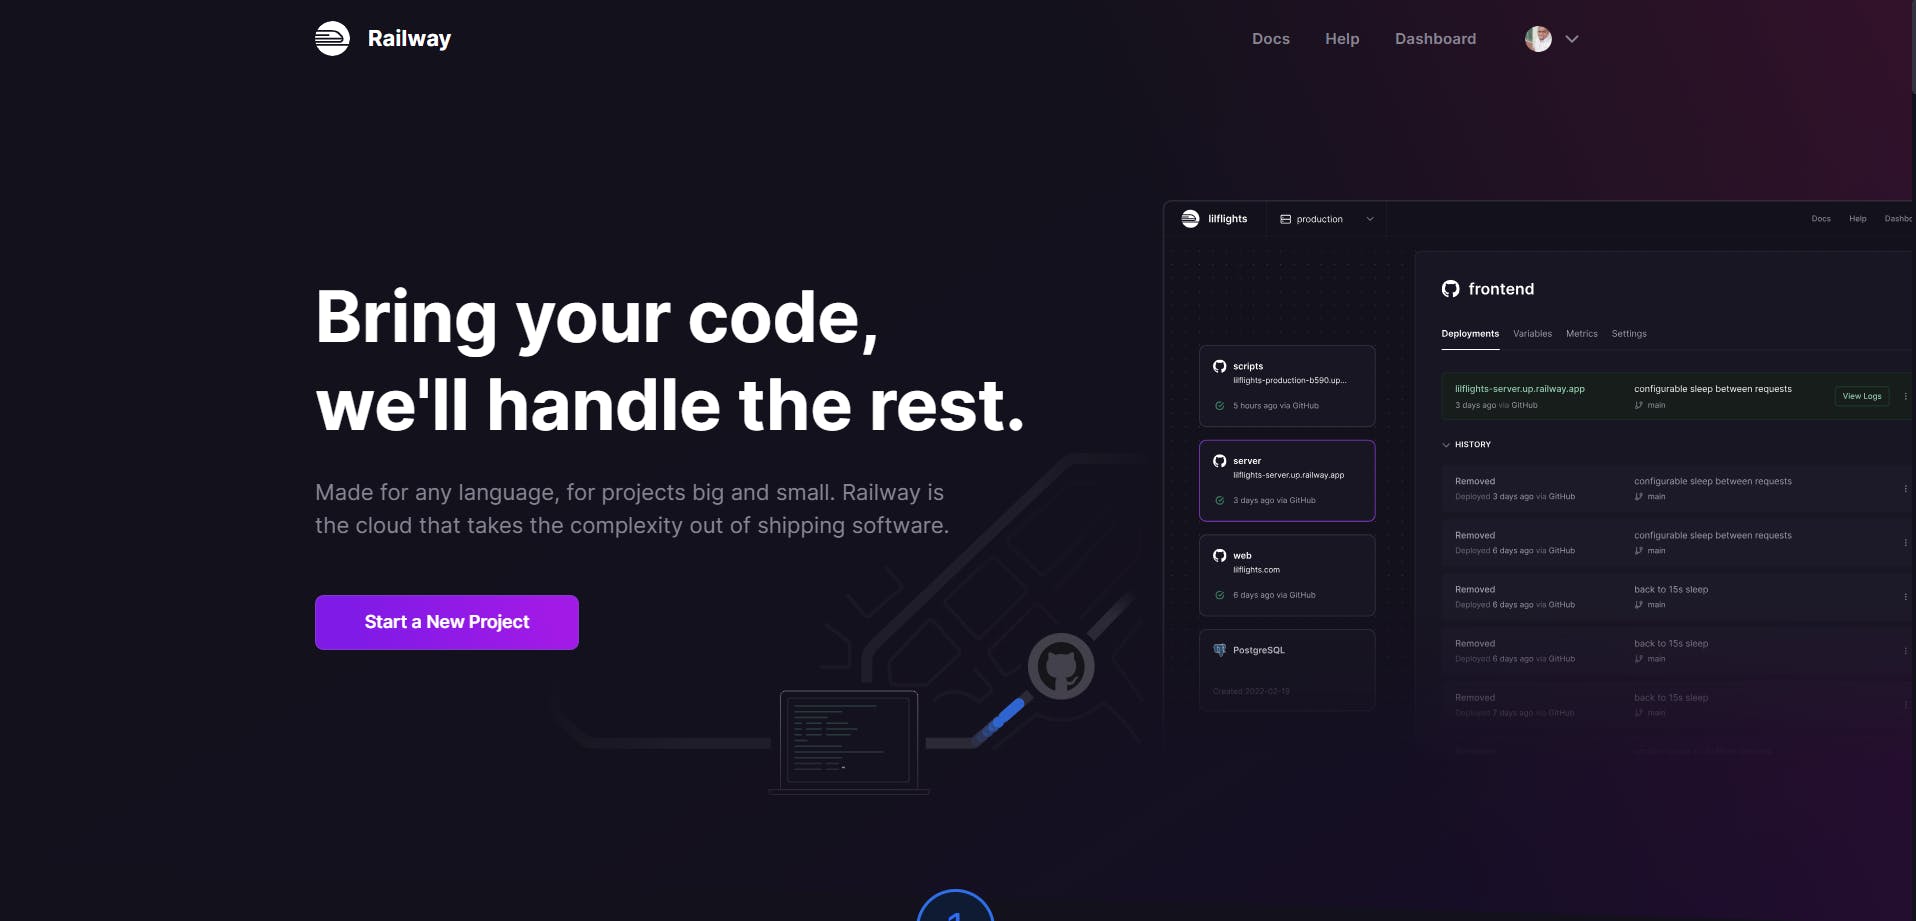
Click on the start a new project button to begin
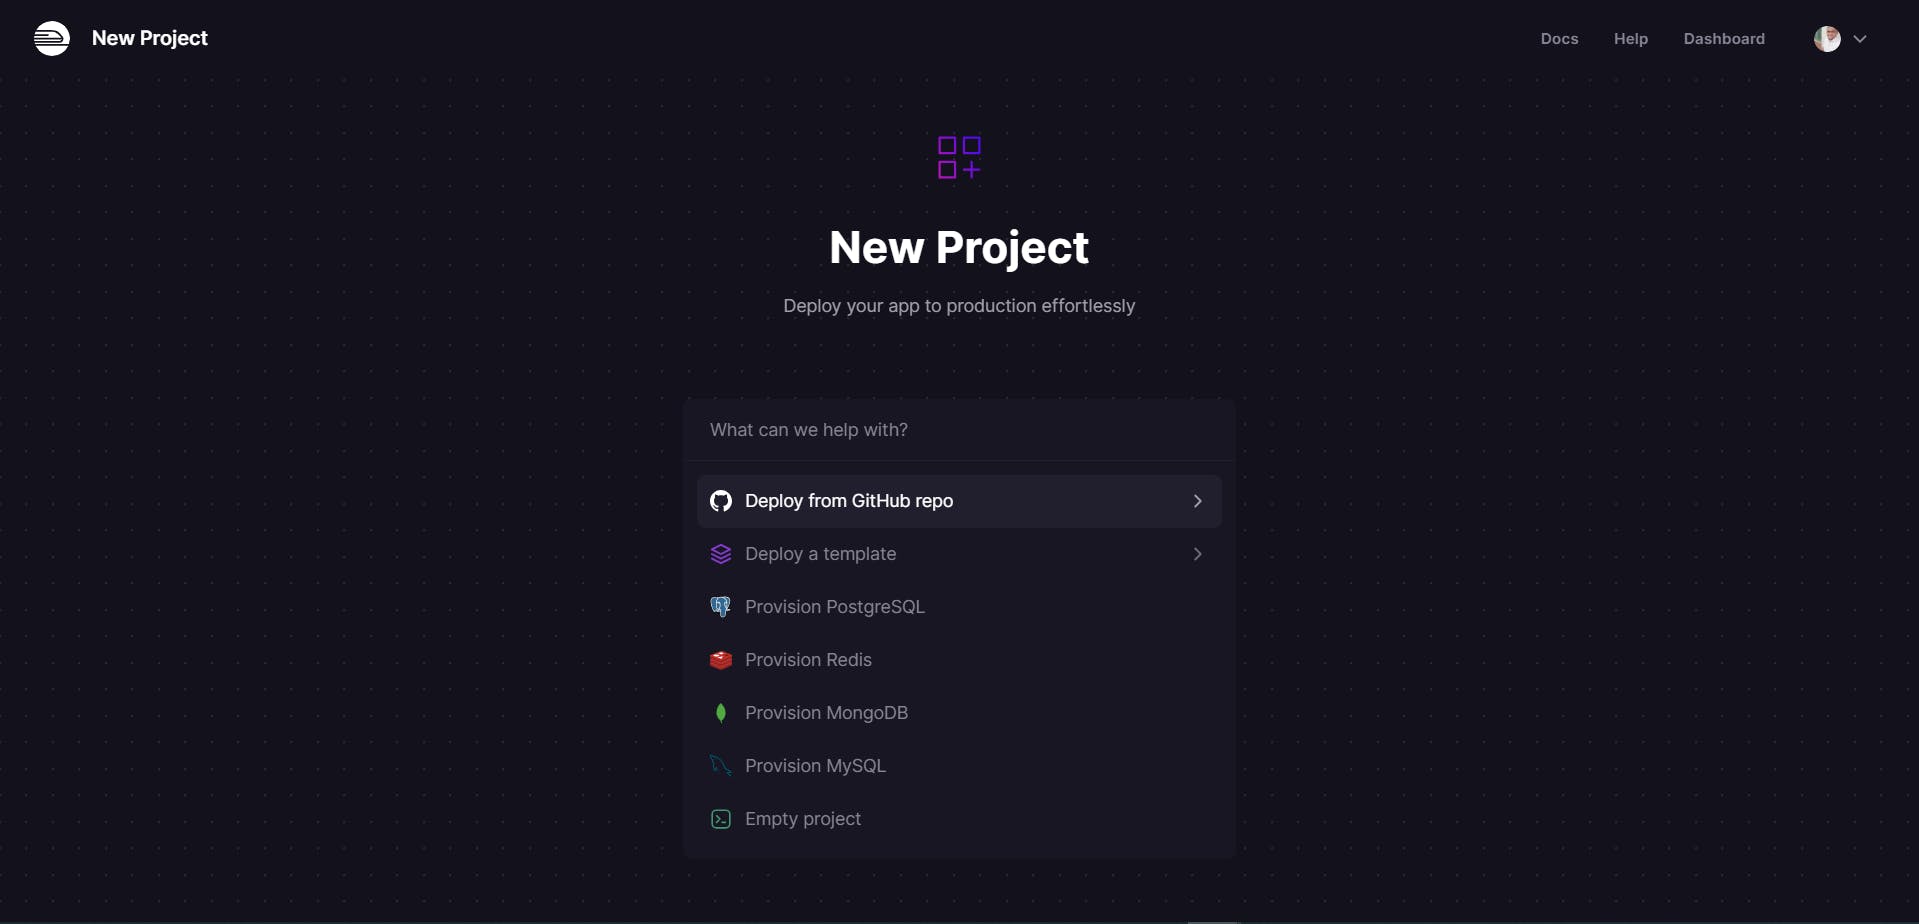
then select the third option which is Provisional Postgres to create the database

And that is all, the project is done and ready for use, but we are not entirely done yet. We need to connect this database to our project locally so that when we run our server everything will work as intended.

As you can see the project is empty but that will be filled with data very soon, for now, we need to go to the connect tab to get the necessary credentials to connect with this database.

Now to the good stuff 🍪😎
In the Connect tab, we can see in the available variable section there are six variables created for us to use to link our project to the database. To do this right, I will show you how to use environment variables to store sensitive information and how you can extract them from your code
Install Django-environs package
We are now going to set up our project to be able to use environment variables in a way that will allow us to secure our private keys and passwords and use them in our code.
Following the instruction on the installation page, all we have to do is run python -m pip install django-environ and add create a file in your root directory called .env (if you haven't done so). In this file add all the variables from Railway the way it appears in that section
DATABASE_URL=<your database url>
PGDATABASE=<your database name>
PGUSER=<your database user>
PGPASSWORD=<your database password>
PGHOST=<your database host>
PGPORT=<your database port>
Just before we skip an important step we need to install another Python package called psycopg2. This is a popular PostgreSQL database adapter for the Python programming language, simple.
python -m pip install psycopg2
Update Settings.py file
Now we can connect our new database to the project using the below steps
settings.py

import environ
import os

env = environ.Env(
    # set casting, default value
    DEBUG=(bool, False)
)
BASE_DIR = Path(__file__).resolve().parent.parent

environ.Env.read_env(os.path.join(BASE_DIR, ".env"))

DATABASES = {
    "default": {
        "ENGINE": "django.db.backends.postgresql_psycopg2",
        "NAME": env("PGDATABASE"),
        "USER": env("PGUSER"),
        "PASSWORD": env("PGPASSWORD"),
        "HOST": env("PGHOST"),
        "PORT": env("PGPORT"),
    }
}
If we try to spin up our local server again we should see this warning on our terminal.

This means everything is working fine because now we are using a new database that has nothing on it. No migration has been made yet, so to correct this error we make migrations like we did previously when we created a custom user.
python -m manage.py migrate
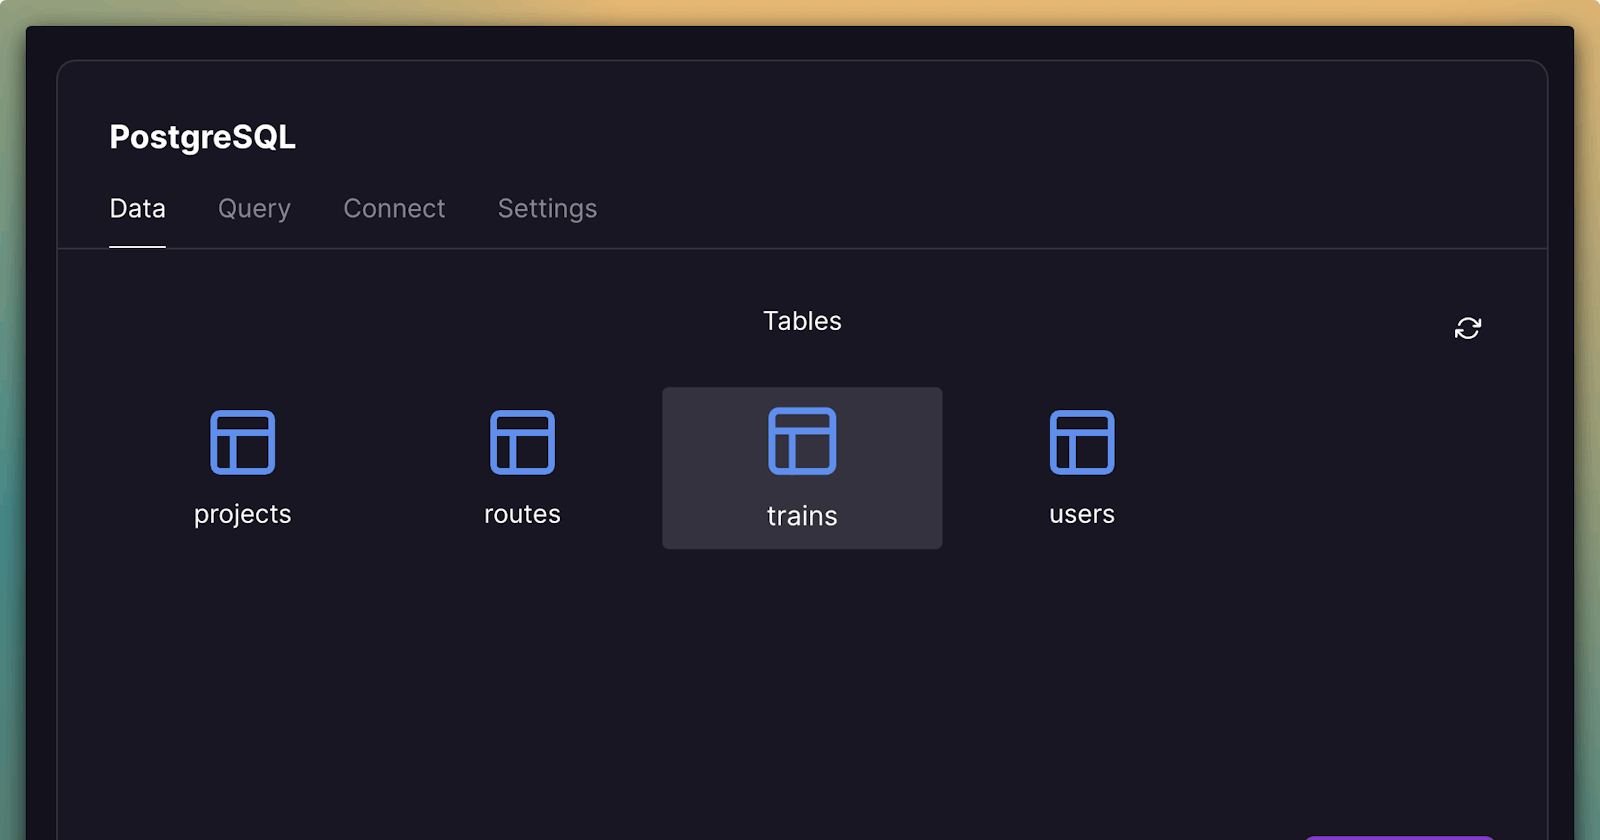
If you take a look at the Postgres database now, they should be some data available there due to the migration we just made

Now just before we start our server again, we would like to create a super user to be able to login to the admin panel. Remember that this is a new database so the previous one we created will not work (You can try it out to see).
The process can be found here.
Now we start our local server again and we are in business as usual 🌟⭐❇
From here we can move on to deploying our project online for public use
✌🏽✌🏽